 Save
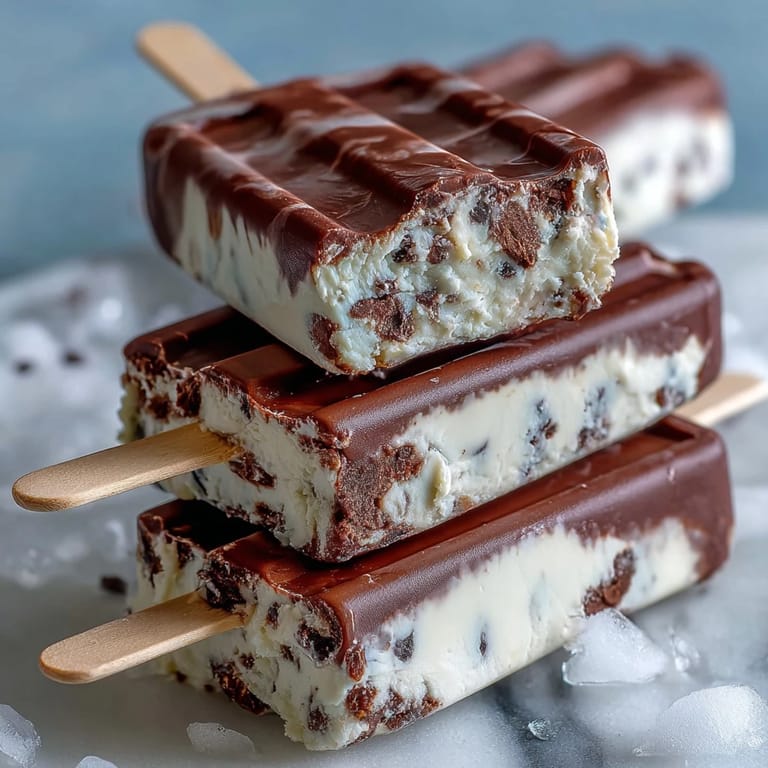
Save Last summer, my neighbor showed up with these gorgeous frozen pops dripping down her wrists, and I immediately recognized that unmistakable coffeehouse smell—vanilla and espresso swirled together. She'd been experimenting in her kitchen all week, trying to recreate the frappuccinos we'd been obsessing over at our favorite café, and this was her victory lap. Within minutes, I was begging for the recipe, and by the following Tuesday, my own freezer was stocked with these creamy, coffee-infused treasures. What started as borrowing an idea became my signature summer move, the thing I now make whenever anyone asks what I've been up to in the kitchen.
I'll never forget the afternoon I served these to my book club—everyone was convinced I'd bought them from some upscale dessert shop until I casually mentioned I'd made them that morning. The look on their faces when they realized these were homemade reminded me why I love cooking for people: it's not about impressing anyone, it's about that small joy of discovering something delicious came from your own hands. Now three of them text me every June asking when I'm making another batch.
Ingredients
- Whole milk: This is your base, giving the pops that creamy richness without being overwhelming—don't skip it for skim, trust me on that.
- Heavy cream: Just half a cup makes the texture luxurious and prevents them from freezing into hard, icy blocks.
- Sweetened condensed milk: This ingredient does double duty, adding sweetness and body in a way regular sugar never could.
- Strong brewed coffee, cooled: Make it strong enough that you'd actually want to drink it—weak coffee means weak flavor in your pops.
- Vanilla bean: If you can find it, split the bean and scrape those tiny seeds yourself; the speckles look beautiful and taste incredible, but vanilla extract works just fine if vanilla beans feel like too much.
- Granulated sugar: Warm this gently with the milk mixture to dissolve it completely—no grainy texture allowed.
- Semisweet chocolate chips: Pick a brand you actually like eating, because that's what you're tasting in the fudge layer.
- Coconut oil: This keeps the chocolate thin enough to spoon but still snappy when frozen; refined works if you want zero coconut taste.
Tired of Takeout? 🥡
Get 10 meals you can make faster than delivery arrives. Seriously.
One email. No spam. Unsubscribe anytime.
Instructions
- Warm your dairy base gently:
- Combine the whole milk, heavy cream, sweetened condensed milk, and sugar in a medium saucepan over medium-low heat, stirring frequently so nothing sticks to the bottom. You're not making hot chocolate here—keep it warm enough to melt the sugar but stop before you see any steam or bubbles forming.
- Blend in the coffee and vanilla:
- Pull the pan off the heat and stir in your cooled brewed coffee and those beautiful vanilla bean seeds (or extract if you're going that route). The mixture should smell absolutely divine at this point, and you'll know the flavors are married together when it looks completely smooth and unified.
- Let it cool completely:
- This is the step people rush, and then they end up with a melted disaster later. Set the mixture aside at room temperature for at least thirty minutes, or stick it in the fridge if you're impatient like I am.
- Pour into molds with intention:
- Fill each popsicle mold leaving about half an inch of space at the top—this is where your fudge layer will live. Insert the sticks now rather than later, and if your molds have covers with stick slots, use them; if not, just balance the sticks gently and pray.
- Give it time in the freezer:
- Four hours is the minimum, but overnight is even better because you know they're rock solid. This isn't a step you can skip or shorten—frozen pops require patience.
- Create the fudge topping:
- Melt your chocolate chips and coconut oil together in a microwave-safe bowl using twenty-second bursts, stirring between each one. This prevents seizing, which is the enemy—you want silky chocolate, not grainy sadness. Let it cool to lukewarm before moving forward.
- Add the chocolate crown:
- Pull your pops from the freezer and spoon a thin layer of that lukewarm chocolate onto the top of each one—just enough to coat but not so much that it drips everywhere. Return them to the freezer for at least two more hours until the chocolate sets completely.
- Unmold with care:
- Run the mold under warm water for just a few seconds—not hot water, just warm—and gently wiggle the pops out one at a time. They should release smoothly if you haven't held them under the heat too long.
 Save
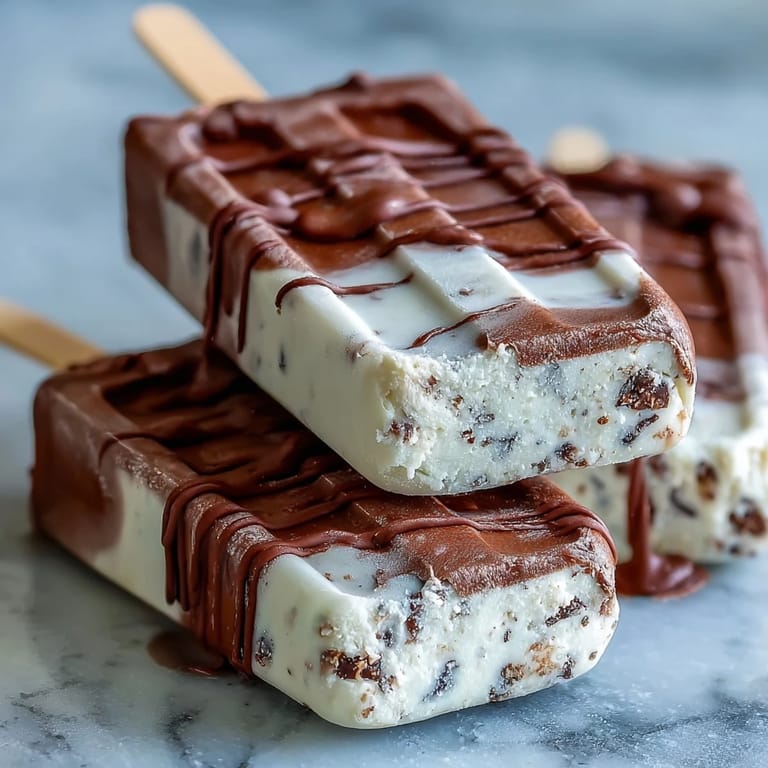
Save There's something magical about pulling these pops out on a scorching afternoon and watching someone's whole face light up when they bite through that crispy chocolate shell into the creamy coffee interior. It transforms a simple dessert into a tiny moment of pure summer happiness, the kind of thing that makes people text you days later saying they're still thinking about it.
The Vanilla Bean Question
I spent an embarrassing amount of time agonizing over whether real vanilla beans were worth the extra expense before my friend just told me to try both and see what I preferred. The truth is, vanilla extract works beautifully in these pops, but if you ever spot whole vanilla beans on sale, grab them—those tiny seeds create a visual that says you care, even if nobody needs to know how easy it actually was. Either way, your pops will taste incredible, so don't stress about being a purist.
Coffee Strength and Flexibility
The coffee flavor in these pops depends entirely on how strong you brew it, which means you can customize them for your own taste or your guests' preferences. If someone's asking for an extra coffee kick, that teaspoon of instant espresso powder works like a charm, transforming a subtle flavor into something that whispers espresso in every bite. For people who want less coffee, just use a weaker brew—no fussing required.
Storage, Swaps, and Serving Suggestions
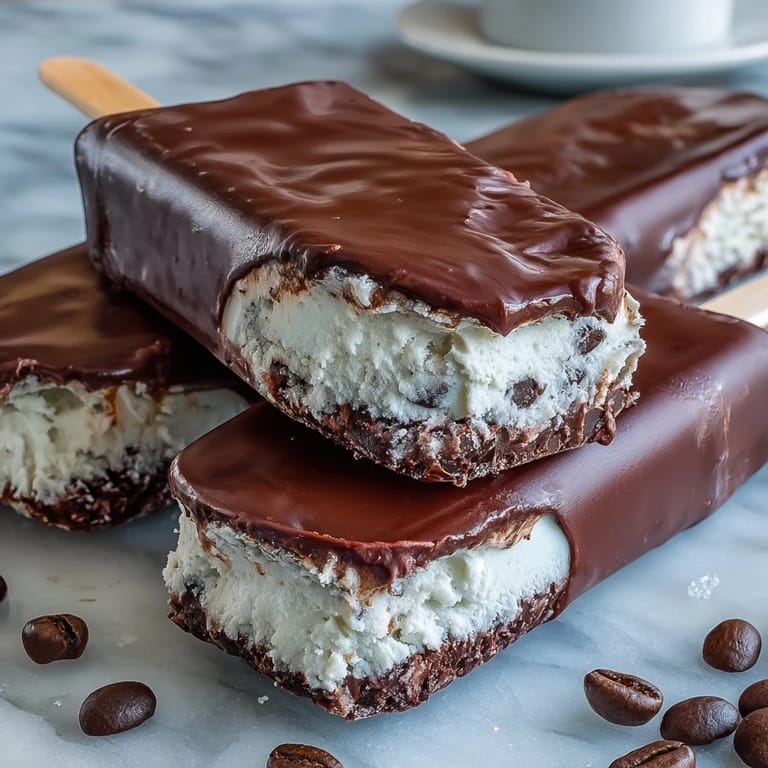
These pops keep beautifully in the freezer for up to two weeks, though honestly, they rarely last that long in any house I've been in. If you want to make them dairy-free, substitute coconut milk and a vegan condensed milk product, and everything works the same way. One last beautiful touch: try sprinkling crushed chocolate-covered espresso beans over that fudge layer before the final freeze—it looks fancy and adds the most delightful crunch.
- Store them in an airtight container so they don't pick up freezer flavors from everything else in there.
- Pair these with a cold brew coffee for the ultimate summer afternoon, or serve them after dinner as a sophisticated dessert.
- These freeze rock-solid, so let them sit for about thirty seconds at room temperature before serving if your guests don't have patient teeth.
 Save
Save These pops represent everything I love about summer cooking—minimal effort, maximum payoff, and the absolute joy of making something that tastes like a splurge but came from your own freezer. Once you make them once, they'll become your reliable secret weapon for looking like a dessert genius.
Your Questions Answered
- → Can I use vanilla extract instead of vanilla bean?
Yes, pure vanilla extract works well as a substitute, providing similar aromatic flavor without the seeds.
- → How long should I freeze the pops before adding chocolate layer?
Freeze the pops for at least 4 hours until mostly solid before adding the chocolate fudge layer on top.
- → What is the best way to unmold the popsicles?
Run the molds briefly under warm water to loosen the pops before gently pulling them out.
- → Can I make these with dairy-free milk?
Yes, substitute coconut milk and vegan condensed milk to create a dairy-free version with similar creaminess.
- → How can I intensify the coffee flavor?
Add 1 teaspoon of instant espresso powder to the base mixture to enhance the coffee taste.