 Save
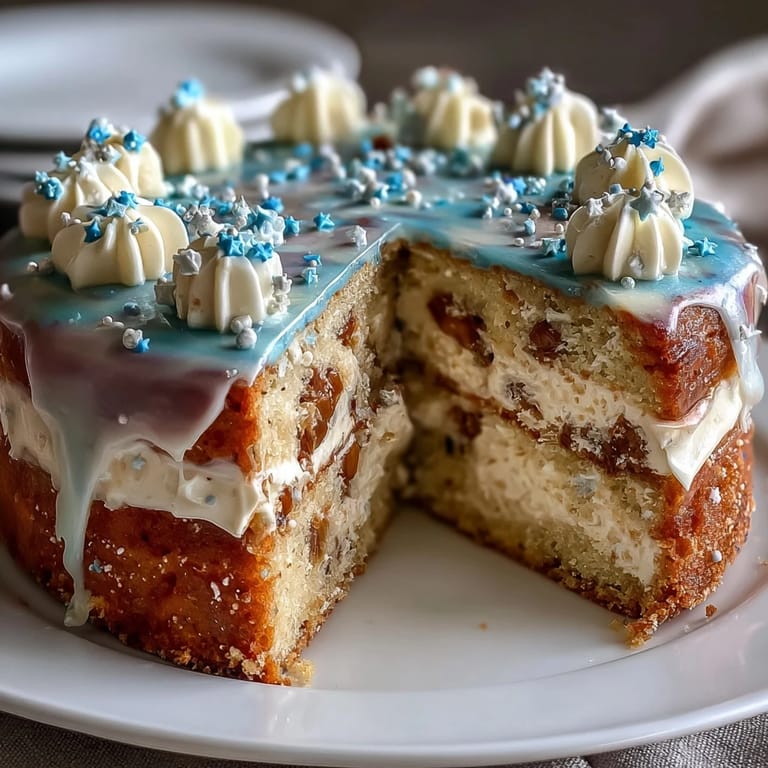
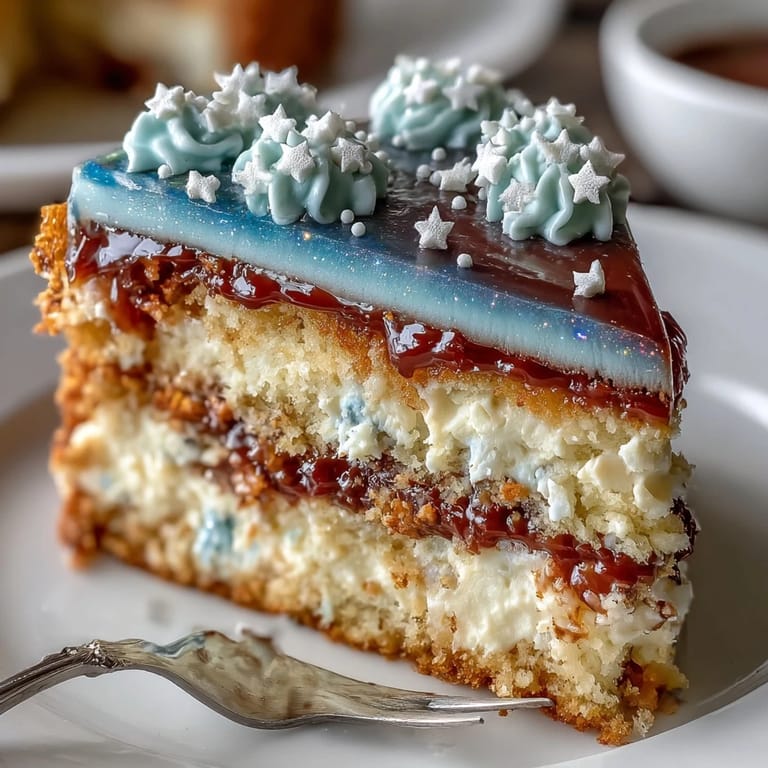
Save My friend messaged me last spring asking if I could bake something special for her Pisces sister's birthday, and she wanted it to feel magical, dreamy, like the ocean itself. I'd never attempted a galaxy cake before, but something about the challenge excited me—the idea of swirling midnight blues and teals and purples into buttercream until it looked like you could dive right into it. Standing in my kitchen that afternoon, I realized I was creating more than just dessert; I was making a moment that would float in someone's memory.
When I finally sliced into that cake at her party, the layers were pristine, and watching everyone's faces light up as they saw the galaxy swirl inside and out made all those careful color measurements worth it. One guest asked if I'd used an airbrush, which made me laugh—nope, just an offset spatula and the kind of focus you only find when you're creating something for people you care about.
Ingredients
- All-purpose flour (2 1/2 cups): This gives your cake structure without being dense; I've learned that sifting it with the baking powder and salt helps distribute the leavening evenly so you get an even crumb.
- Baking powder (2 1/2 tsp): Don't skip sifting this with your dry ingredients or you'll get bitter pockets in your finished cake.
- Salt (1/2 tsp): A small but mighty ingredient that deepens the vanilla flavor and balances the sweetness beautifully.
- Unsalted butter (1 cup), softened: Room temperature is non-negotiable here; cold butter won't cream properly and you'll miss that light, fluffy texture that makes each bite feel like a cloud.
- Granulated sugar (1 3/4 cups): The creaming process with butter is where the magic begins—don't rush those 3-4 minutes or your cake will be flat and sad.
- Large eggs (4), room temperature: Temperature matters more than you'd think; cold eggs seize up the butter mixture and can make your batter break.
- Vanilla extract (2 tsp): Use real vanilla here because the simple cake relies on it for flavor depth.
- Whole milk (1 cup), room temperature: Cold milk will shock the batter, so let it sit on the counter while you're creaming your butter and sugar.
- Unsalted butter for buttercream (1 1/2 cups), softened: Softness is everything—if it's even slightly cool, your buttercream will look grainy no matter how long you beat it.
- Powdered sugar (6 cups), sifted: Sifting removes lumps before you add it, which means silky frosting instead of gritty frosting; take this step seriously.
- Gel food coloring (navy, teal, purple, turquoise, white): Gel is essential because it won't thin your buttercream the way liquid colors do, and the shades are more vivid and ocean-like.
- Edible glitter or white sprinkles: These are your stars, and a light hand makes them look magical rather than overdone.
Tired of Takeout? 🥡
Get 10 meals you can make faster than delivery arrives. Seriously.
One email. No spam. Unsubscribe anytime.
Instructions
- Set the stage:
- Preheat your oven to 350°F and grease those pans thoroughly, then line them with parchment paper—this is your insurance policy against frustrated cake-removal moments. Have all your ingredients at room temperature because cold ingredients and warm ones don't play nicely together in batter.
- Build the dry foundation:
- Whisk your flour, baking powder, and salt in a bowl; the whisking actually matters because it aerates the flour and distributes the leavening agent evenly. Set this aside and don't second-guess it.
- Cream the butter and sugar:
- Beat your softened butter and sugar together with an electric mixer until the mixture is pale, fluffy, and looks almost like frosting already—this usually takes about 3 to 4 minutes. This creaming process is where your cake gets its tender crumb, so don't skip ahead.
- Introduce the eggs gently:
- Add eggs one at a time, beating well after each addition; this prevents the mixture from looking curdled or broken. If it does look a little separated, just keep beating and the next ingredient will bring it back together.
- Marry wet and dry:
- Alternate adding your dry mixture and milk, starting with flour and ending with flour; this prevents overmixing, which can make cakes tough. Mix until you just can't see flour streaks anymore, then stop—really, stop there.
- Divide and bake:
- Split the batter evenly between your pans, smooth the tops with an offset spatula, and bake for 28 to 32 minutes until a toothpick comes out clean. The smell will be incredible, but resist opening the oven door until you're at the 25-minute mark.
- Cool with patience:
- Let cakes rest in their pans for 10 minutes so they firm up, then turn them out onto wire racks to cool completely. Frosting a warm cake is a disaster I've experienced, so use this time to make coffee and breathe.
- Beat the buttercream to silk:
- Cream your softened butter alone first until it's pale and fluffy, then gradually add sifted powdered sugar while beating; this prevents lumps and aeration breaks. Once it looks smooth, add vanilla and milk and beat until the texture is fluffy and light enough to spread without ripping your cake layers.
- Paint with color:
- Divide the buttercream into 4 or 5 bowls and add gel coloring one bowl at a time, mixing gently; start with just a tiny drop because gel color is potent and you can always add more. The colors should evoke ocean depths—navy and teal and purple swirled together look so much better than bright, unnatural shades.
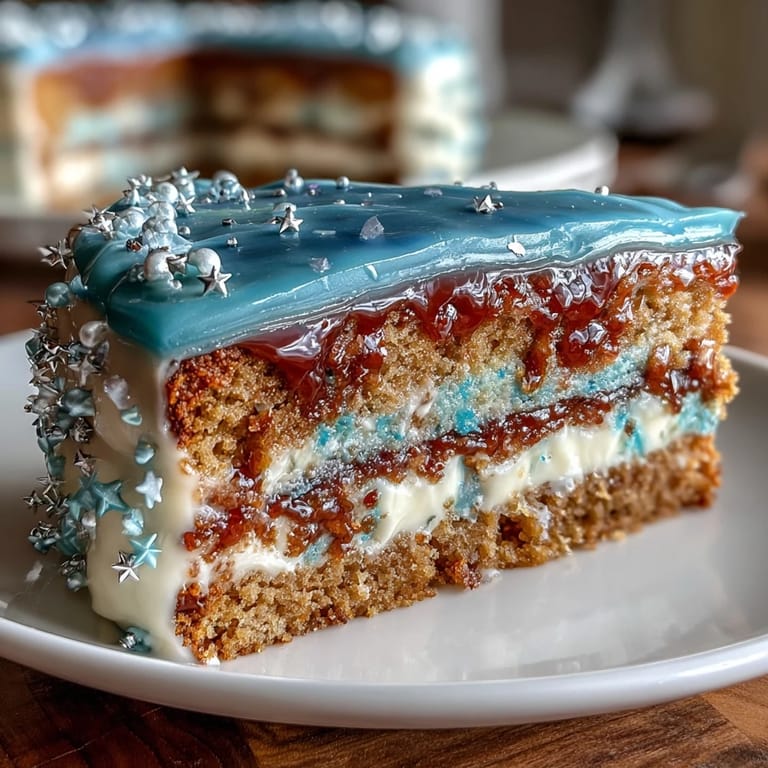
- Create your galaxy:
- Plop random dollops of each colored buttercream all over your cooled cake layers, then use an offset spatula to swirl and blend them together in a marbled, organic way. The beauty is in the imperfection, so don't aim for perfectly blended—let the colors peek through and play against each other.
- Add your starlight:
- Sprinkle edible glitter or white sprinkles across the finished cake like stars scattered through a night sky. A light hand here makes all the difference between magical and overdone.
- Chill before slicing:
- Refrigerate the finished cake for at least 30 minutes; this sets the layers and makes slicing clean instead of smashing the frosting everywhere. Cold buttercream also holds those beautiful color swirls better.
 Save
Save I've made this cake three times now, and each time feels like I'm creating a little edible dream. There's something special about watching someone recognize their own sign in a dessert, about how food becomes a conversation starter and a memory keeper all at once.
The Alchemy of Buttercream Colors
The first time I made the buttercream, I used liquid food coloring and the results were watery and pale—I had to throw it out and start over. That's when I learned to invest in gel coloring, which changed everything; the pigments are concentrated so your frosting stays thick and spreadable while the colors become deep and ocean-like. Now I keep gel coloring in navy, teal, and purple on hand at all times because once you taste the difference, there's no going back.
Cake Layers That Hold Their Shape
One time I was impatient and tried to frost a cake that was still slightly warm, and the frosting just slid right off in sad little puddles. After that disaster, I learned to actually let cakes cool completely—and chilling the finished cake before slicing means you get those pristine, Instagram-worthy layers without the cake crumbling all over the plate. It also gives everyone something beautiful to see when they bite in, which honestly matters just as much as how it tastes.
Making It Your Own
The real joy of this cake is that it invites customization without ever feeling wrong. I've added edible sugar sea shells and Pisces zodiac toppers, and once I swapped half the vanilla extract for almond extract just because I had it on hand and wanted something different. The structure is solid enough to play with, which is the mark of a truly good recipe—it can evolve with you and still be beautiful.
- If you're making this a day ahead, bake the cake layers and store them wrapped in plastic wrap, then frost it the morning of the party for the freshest taste.
- Let your edible glitter hand be lighter than you think—a delicate sprinkle looks far more elegant than a heavy-handed approach.
- If you can't find gel coloring locally, order it online; it's worth the extra step because your colors will be stunning and your buttercream won't be watery.
 Save
Save This cake has become my signature dessert for birthdays and celebrations, the one people actually request by name. There's something deeply satisfying about turning sugar and butter into edible art that also happens to taste wonderful.
Your Questions Answered
- → How do I achieve the galaxy swirl effect on the buttercream?
Divide the buttercream into separate bowls and tint each with different gel colors. Spoon dollops of each color onto the cake and use an offset spatula to gently swirl them together for a marbled galaxy look.
- → Can I prepare the cake in advance?
Yes, the cake can be baked ahead of time and refrigerated. Apply the buttercream and decorate just before serving for best results.
- → What tools are needed for decorating the cake?
Basic tools include an offset spatula for spreading the buttercream, mixing bowls for dividing colors, and parchment paper to line the pans.
- → Are there alternative flavor options for the buttercream?
You can substitute part of the vanilla extract with almond or coconut extract to add a unique twist to the frosting flavors.
- → What considerations are there for allergens?
This cake contains gluten, dairy, and eggs. If using colored sprinkles, check for any additional allergen information to ensure safety.