 Save
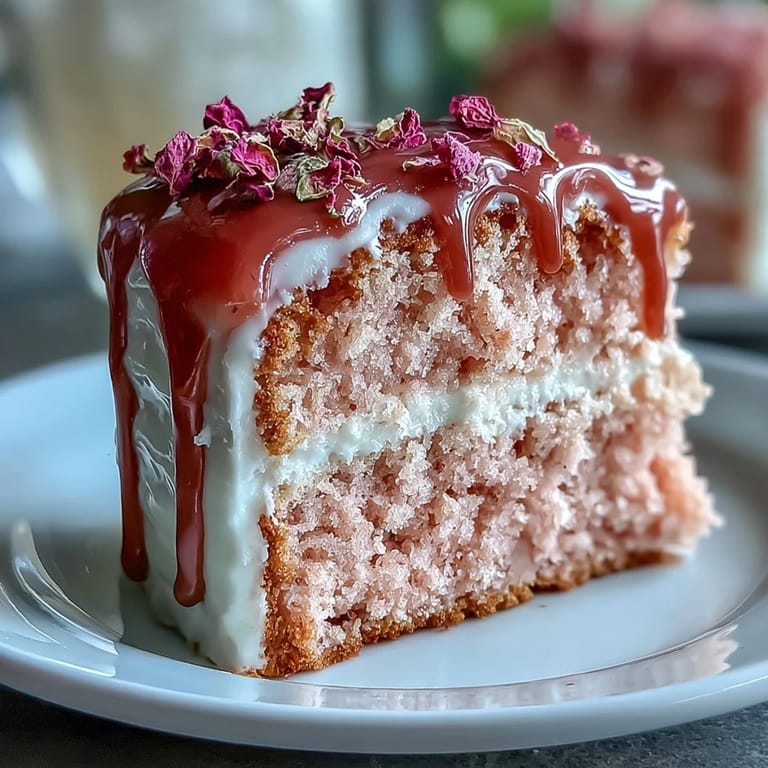
Save When the idea for a rosé velvet cake first fluttered through my mind, I could almost hear the gentle fizz of bubbles and visualize the shimmer of gold catching the sunlight at a backyard bridal shower. There’s something quietly magical about transforming a celebratory drink into a cake—especially one that blushes pink and glows with edible gold. As I sifted flour on a busy spring morning, the air filled with anticipation and a subtle undertone of sweet wine. That was the day this Rosé Velvet Cake became my canvas for a little sparkle and a lot of joy.
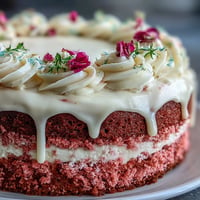
The first time I brought this cake to a friend’s bridal shower, I nearly forgot to pack the gold luster dust! Everyone hovered close as the final layer of edible paint was brushed on, laughter spilling into the kitchen with each shimmer that appeared. There was a moment, just as the sunlight hit the finished cake, when all the excited chatter paused—we were spellbound together, just for a heartbeat, by cake and celebration intertwined.
Ingredients
- All-purpose flour: Reliable structure gives the cake perfect layers—sift to keep everything airy.
- Granulated sugar: Sweetens each bite and helps create those tender golden edges I adore.
- Baking soda: Don’t skimp—this leavener ensures the cake rises evenly, so no sunken centers.
- Fine salt: Just the right amount sharpens the flavors and tempers the sweetness.
- Cocoa powder (unsweetened): Just a spoonful deepens color and adds quiet richness beneath that pink hue.
- Vegetable oil: Keeps the crumb extra plush, even straight from the fridge the next day.
- Large eggs, room temperature: Mixing them at room temp creates a silkier batter with better rise.
- Buttermilk, room temperature: Its tang boosts flavor and guarantees a tender moist crumb every time.
- Rosé wine: Adds a subtle, floral note—dry or sparkling both shine, just avoid anything too sweet.
- Vanilla extract: It brings warmth to both cake and buttercream, in the best nostalgic way.
- White vinegar: Reacts with baking soda for a beautifully light, soft cake.
- Pink or rose gel food coloring: Gel gives a saturated color without thinning your batter.
- Unsalted butter, room temperature: Soft butter gives the buttercream its signature cloud-like texture.
- Powdered sugar, sifted: For lump-free, swoon-worthy smooth frosting, always sift first.
- Heavy cream: Helps melt the white chocolate into a dreamy, pourable drip.
- White chocolate chips: The base for that enviable gold drip—use the best you can get.
- Edible gold luster dust: The sparkle-maker: check the label and resist anything non-edible.
- Vodka or clear lemon extract: A tiny splash turns luster dust into literal edible paint for the stunning finish.
Tired of Takeout? 🥡
Get 10 meals you can make faster than delivery arrives. Seriously.
One email. No spam. Unsubscribe anytime.
Instructions
- Prep the cake pans:
- Line three 8-inch pans with parchment and grease the sides, so the batter releases effortlessly later.
- Mix the dry ingredients:
- Sift flour, sugar, baking soda, salt, and cocoa into a large bowl—run your fingers through to break up any stubborn lumps.
- Combine the wet ingredients:
- Whisk oil, eggs, buttermilk, rosé, vanilla, and vinegar together until glossy and fully blended.
- Color and combine:
- Stir the wet mix into the dry just until streaks disappear, then add gel coloring drop by drop until you hit your dream pink.
- Bake the cakes:
- Divide the batter evenly, smoothing the tops, and bake until the centers bounce back at a gentle touch—about 30 to 35 minutes.
- Cool completely:
- Rest the cakes in their pans for 10 minutes, then turn out onto a rack; patience here makes for tidier frosting later.
- Whip up the buttercream:
- Beat softened butter until of the lightest yellow, then add powdered sugar in intervals, followed by rosé, vanilla, and a pinch of salt.
- Assemble your cake:
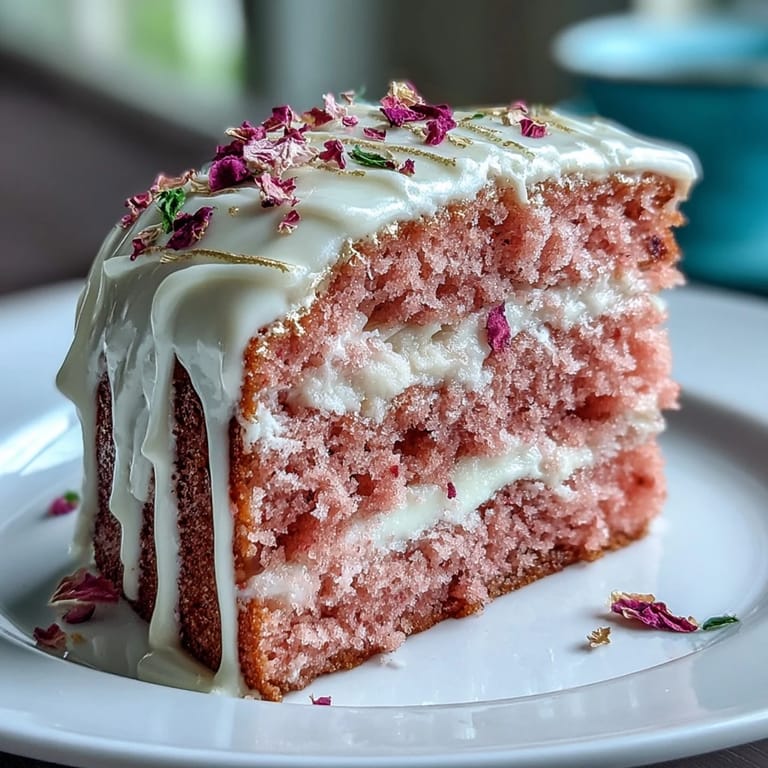
- Level layers, stack with buttercream between, then coat the entire cake with a thin crumb coat—chill to set before the finale.
- Frost the final coat:
- Slather the last, thick layer of buttercream around and on top until every bit is whisper-soft and swoopy.
- Make the gold drip:
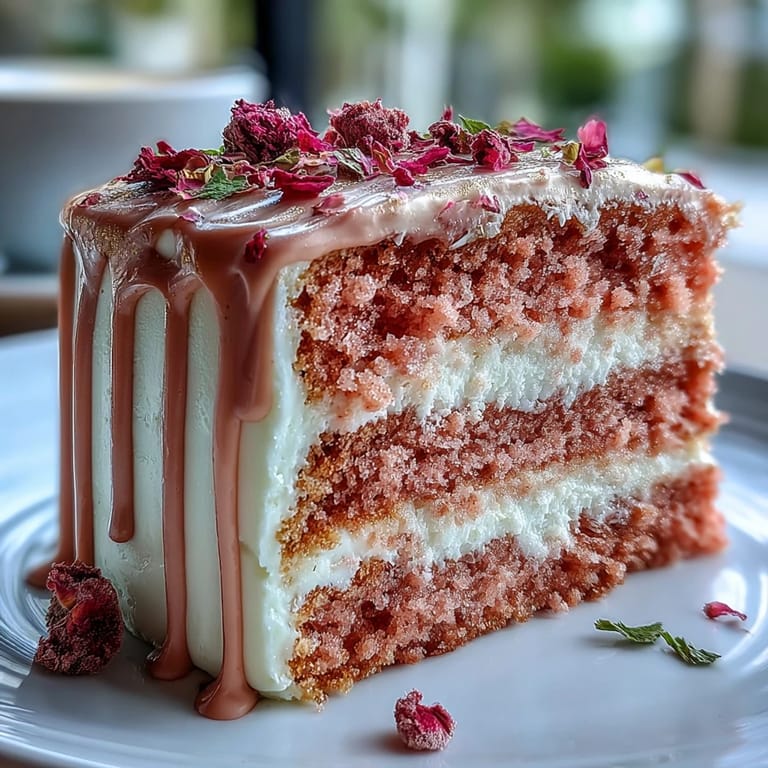
- Melt white chocolate chips with cream, let it cool slightly, and pour over the edge so drips cascade down; set before painting.
- Paint with gold:
- Swirl gold luster dust with vodka or lemon extract and use a food-safe brush to turn every drip into a gold streak.
- Finish and decorate:
- Add more gold, a scattering of rose petals, or fresh berries—the final touch is yours.
 Save
Save 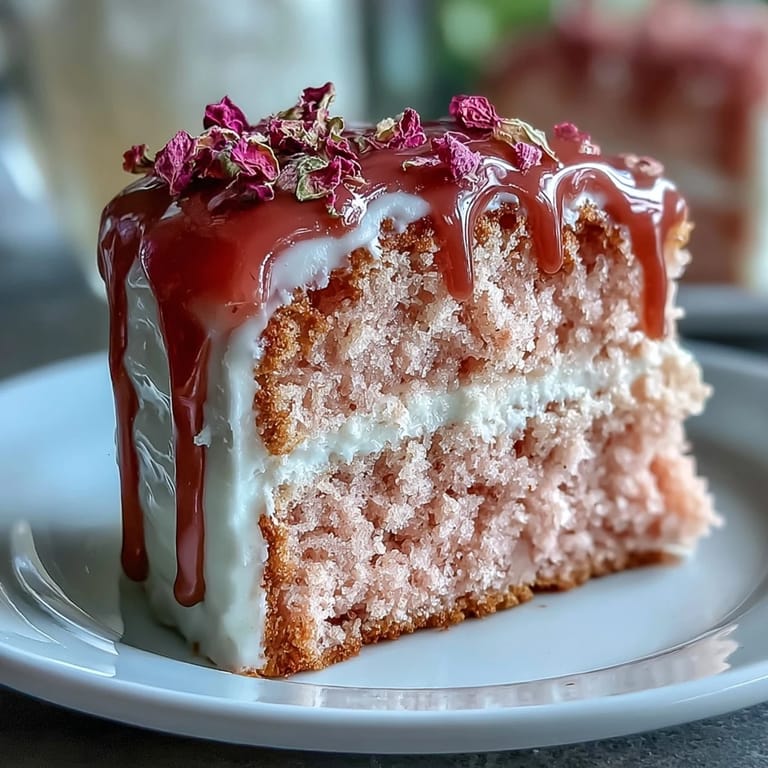 Save
Save There was a beautiful moment after the last slice was served—my friend beaming beside her stack of gifts, cheeks still a little pink from laughter. It’s funny how a shimmer of gold and a pop of rosé can turn a regular afternoon into a memory people mention years later.
Perfecting The Gold Drip At Home
The first time I attempted the gold drip, my hands shook adorably as I circled the cake’s rim, afraid I’d overdo it and lose that delicate effect. I learned that waiting a few extra minutes for the chocolate to cool means slower, more graceful drips—it’s a small thing, but it makes the final look far more elegant.
Choosing The Right Rosé
I once used a sparkling rosé on a whim, not knowing it would make the cake taste bright and lighter than air. If you prefer subtle sweetness, always pick a dry rosé; for something more playful and floral, try one with a hint of berry notes.
Making It Ahead & Serving with Style
I’ve found that this cake holds up if you make it the day before and chill overnight, but always allow it to come to room temperature for the softest crumb and creamiest frosting. Bring it out just before the toast for maximum drama—trust me, someone will want a picture.
- If you’re short on edible flowers, a handful of fresh berries makes an equally stunning finish.
- A chilled cake is easier to frost and decorate neatly—just don’t skip letting it warm gently before serving.
- Keep leftover gold paint in a tightly sealed container for future sparkly projects.
 Save
Save 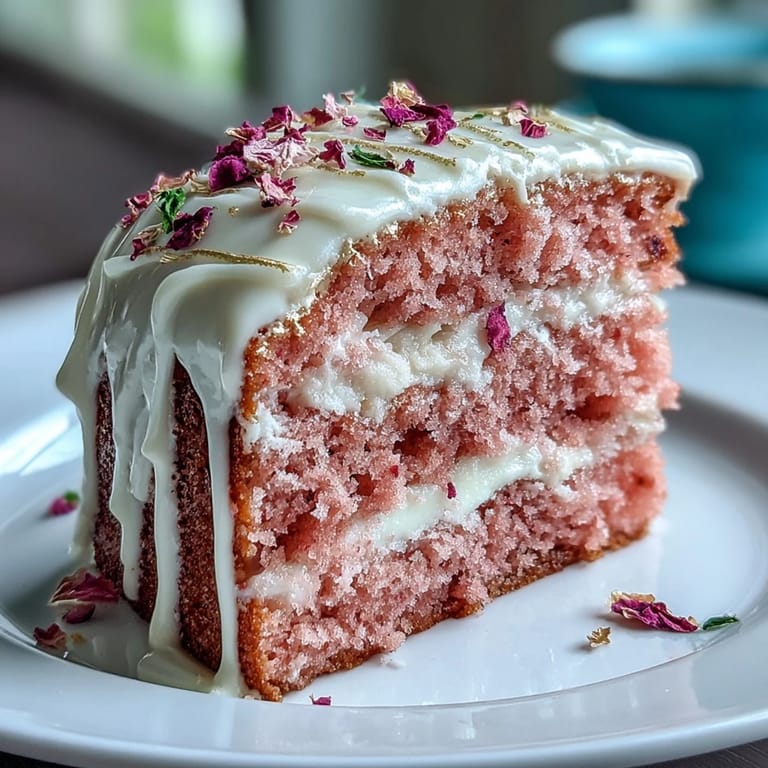 Save
Save I hope this Rosé Velvet Cake makes your next celebration shimmer just a bit brighter. Relish each slice—the best parties always end with a little sparkle on everyone’s smiles.
Your Questions Answered
- → Can I substitute champagne for rosé?
Yes — a dry sparkling wine or champagne works well. Use a dry option to avoid extra sweetness and taste the batter before baking. If the batter seems thin, reduce another liquid slightly to keep the texture balanced.
- → How do I get a vibrant pink without changing texture?
Use concentrated gel food coloring and add it a little at a time until you reach the desired shade. Gel won’t alter batter hydration like liquid colorings, so you retain crumb structure and bake time.
- → How can I prevent the white-chocolate drip from seizing?
Melt chocolate gently with warm cream over low heat and stir until smooth. Let the drip cool slightly before applying; if too thick, add tiny amounts of warmed cream, and if too thin, chill briefly to thicken before pouring.
- → Can components be made ahead of time?
Yes. Bake and cool layers fully, then wrap tightly and refrigerate for up to a day. Buttercream can be made and chilled; assemble and decorate within 24 hours, and bring to room temperature before serving for best texture.
- → Is edible gold luster dust safe to use?
Only use food-grade, labeled edible luster dust. Mix it with a clear spirit or lemon extract to make a paint for the drip. Never use non-edible metallic powders; they are not safe for consumption.
- → Any tips for achieving even cake layers and a smooth finish?
Level each cooled layer with a serrated knife or cake leveler, apply a thin crumb coat and chill before the final icing. Use an offset spatula and a turntable for smooth sides and clean edges when layering and finishing.